
Your cart is currently empty!

Quick and easy archaeology dig to get your kids loving history
To kick off our homeschool history lessons this year with a bang we started with an archaeology dig lesson. What child wouldn’t want to start off their school year covered in mud?
Ours certainly did.

Archaeology dig lesson supplies
As many empty 3 liters bottles as you have dig sites. We planned two dig sites, so two 3-liter bottles. My kids were quite happy to get the special treat of “drink as much as you want” (I could also save some of the special drinks from our book and a movie times). I almost think you could also use a large flat tub to try this out, but for this time around we used 3 liter bottles.
Dirt, lots and lots of dirt, and maybe a few rocks thrown in
Small items to create your scene (think about what type of archaeological dig lesson you’re trying to create)
House: small toys, silverware, trash, a broken household item, office supplies, scrap of mail
Store: receipts, coupons, coins, piece of broken shelving, maybe some nails
These are the two dig sites we set up, but there’s lots of ideas you could try with this.
(This post has a few affiliate links marked with an *)
Procedure for the Archaeology dig lesson
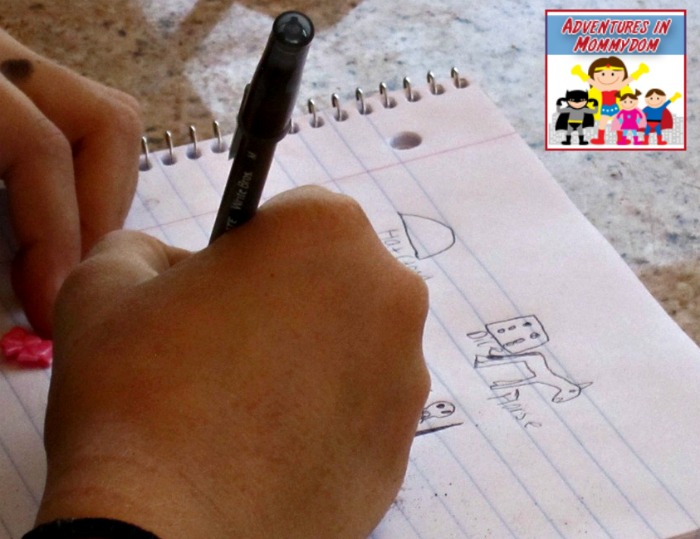
First we talked about how archaeologists have to document everything, and how they describe what they find, and draw it. We went over the archaeology and discovering history lesson from Colonial Life (Time Travelers series)*.

Because my kids were younger (early elementary), they were only required to draw what they found and write two sentences.
My friends kids are older (upper elementary and middle school), we required them to document where the items were found in the layers, and describe each item as they found it.
To ensure both tubs had a chance of figuring out what type of archaeological dig it was, we split up the older and younger kids relatively evenly.
[Side note, if you do decide to do a big flat tub, then you can create a grid pattern, rather than looking for layers of materials, which is an intriguing idea to me]
After all of the artifacts had been discovered in their archaeology dig, and catalogued, we talked about what their dig sites were.
The first group after a very short discussion decided their dig site was a toy shop.
My kids argued for a while. One of them thought their site was a restaurant, another thought it was a kitchen, and the last one thought it was a home. Finally they each (with some help) wrote the place they thought they had found.
All in all they really enjoyed this archaeology dig lesson. It made for a great start to our school year.
And, did you notice! I actually remembered to do a messy project OUTSIDE!!!!! I was so proud of myself.
You have to take the little victories.
Wanting more archaeology dig lesson ideas?
Over our many years of homeschooling we’ve done quite a few of these (my kids love them)
Pompeii archaeology dig with Legos
Sandbox Dinosaur dig– modify this by changing it to your artifacts for the dig
Millet seed dinosaur dig– make the same modifications as in the sandbox dig (this is a smaller scale version of the one up above)
Comments
9 responses to “Quick and easy archaeology dig to get your kids loving history”
Will you stop with the great lesson ideas???? You are making the rest of us look so bad 🙂
Cool idea!
I need to start a separate file of your great ideas for future use! I'm never going to remember them all!
You managed not to bring a sandbox inside? That must have been quite an effort 🙂 There is a good book to go with this – Archaeologists Dig for Clues.
What a darling and informartive blog! I can't wait to use some of your ideas!
Great ideas! I'm waiting to do SOTW but we'll try to do something similar for the dig.
Great idea!
Fun, memorable and exciting.
I like how your children each had their own interpretation for what they had found.
Leave a Reply